Claims Checklist
For Figure 1.0:
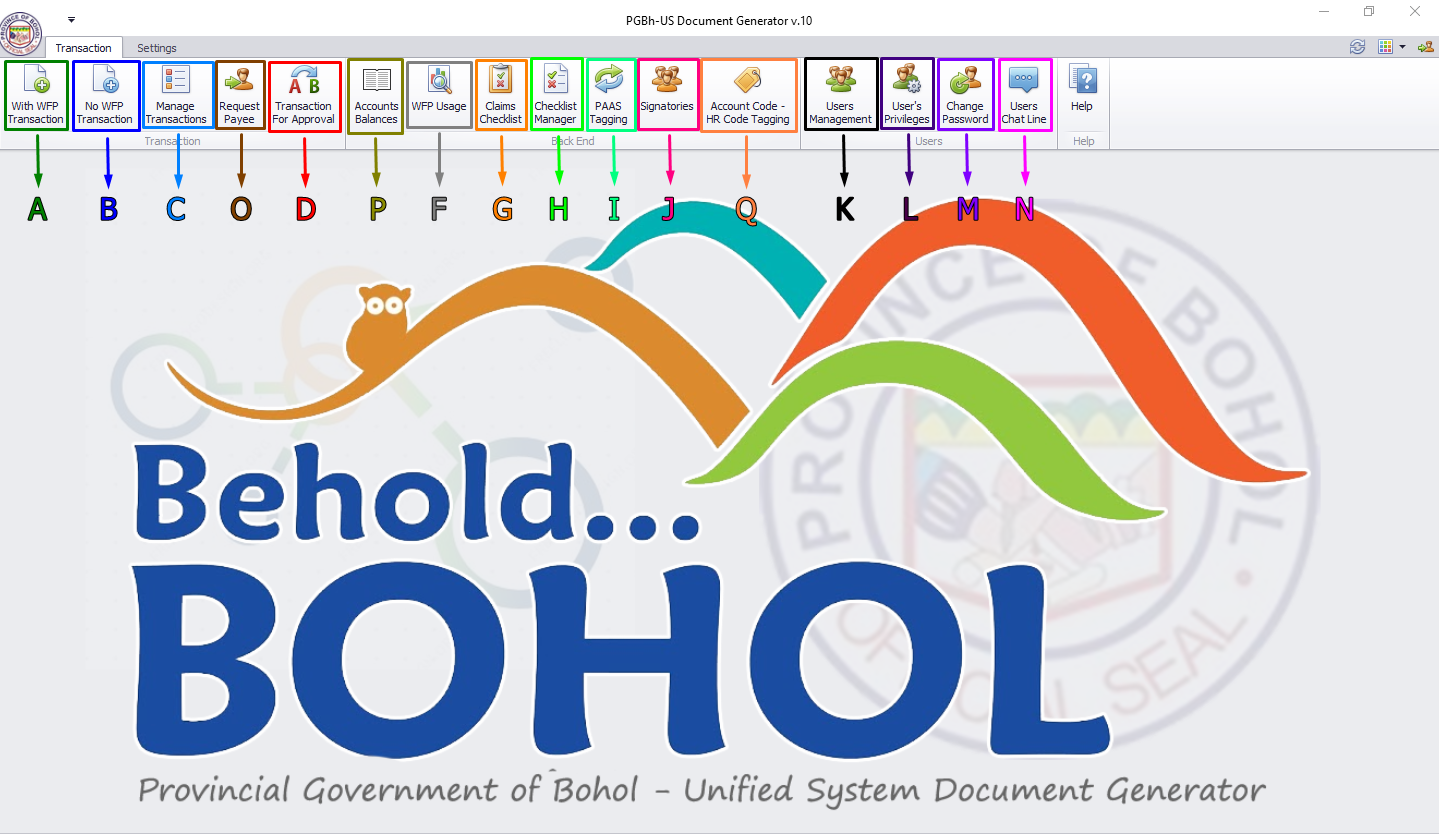
- Arrow G (Orange): By clicking Claims Checklist see Figure below.
1. Manipulate the list of Claims

For Figure 3.1:
2. Add Checklist to Claims

For Figure 3.2:
When a user opened a certain Claim (ex. OVERTIME PAY), the form will show its Checklist.

For Figure 3.2.1:
User can choose to proceed or not. Upon clicking "NO" button (b), it goes back to ClaimsChecklistForm. When user choose to proceed by clicking "YES" button (a), form 'Add Claims Checklist' appears as shown in Fig 2.2.2 below.
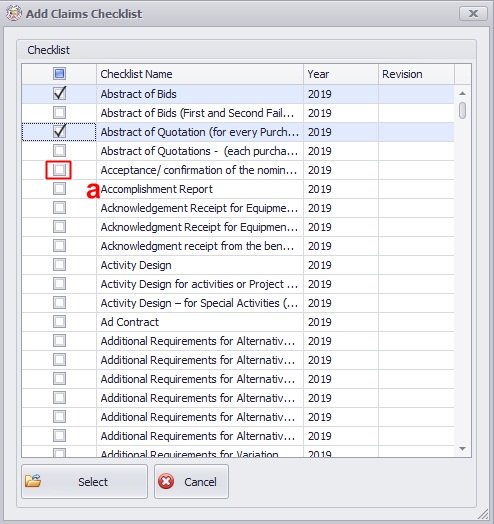
For Figure 3.2.2:
User can look for the needed checklist then click the checkbox (a) to select a checklist and finalize the selection.
3. Delete a Claims' Checklist
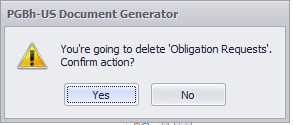
For Figure 3.2:
User can also delete a checklist. Select the checklist you desired to delete and then click button (b) in Fig 3.2, a confirmation form appears.