No WFP Transaction
For Figure 1.0:
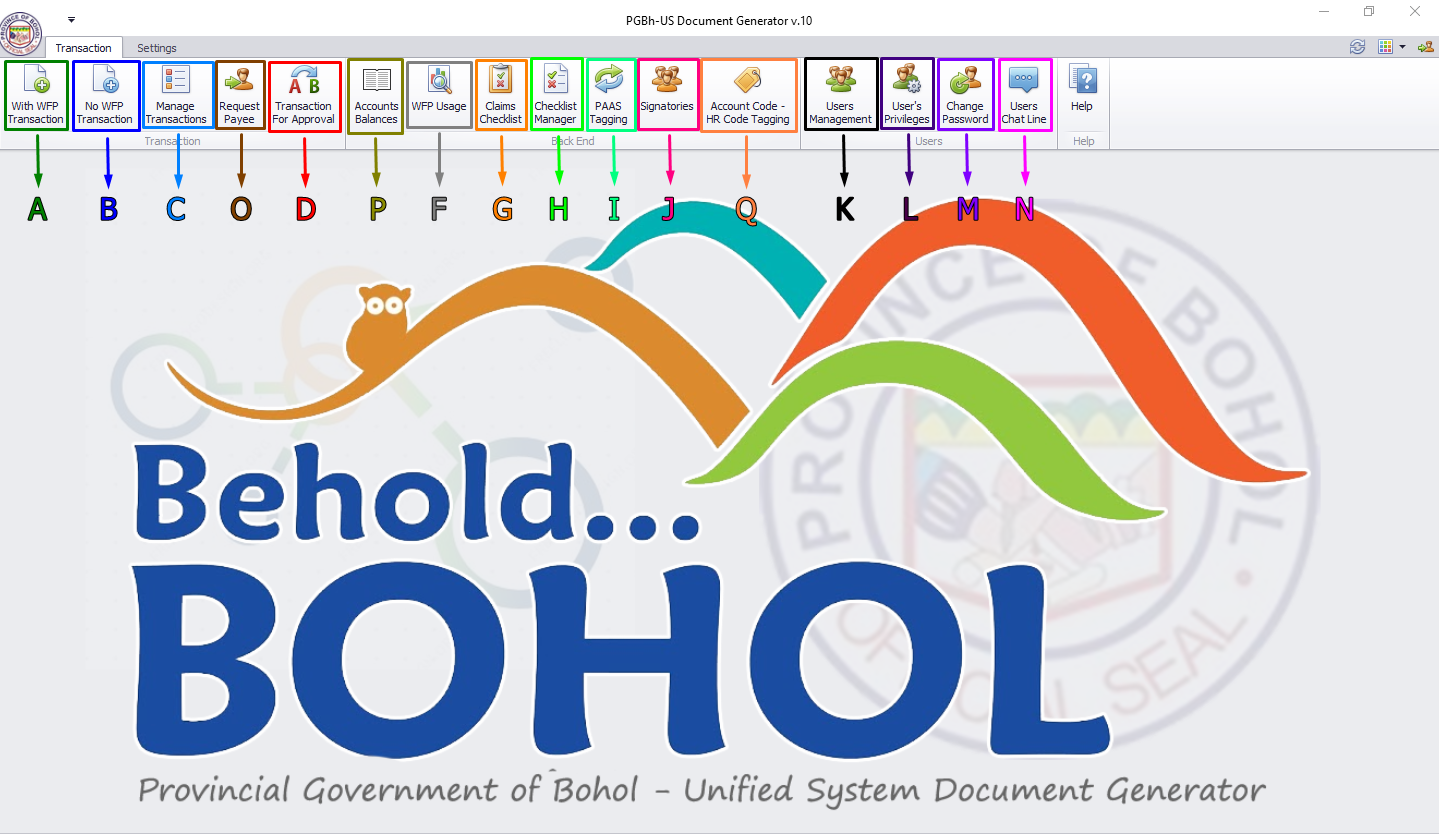
- Arrow B (Blue): By clicking No WFP Transaction see Figures below.
- No WFP Documents: Remittance, Cash Advance for PTO, withdrawal, liquidation (non-refundable)
1. Make a New No WFP Transaction
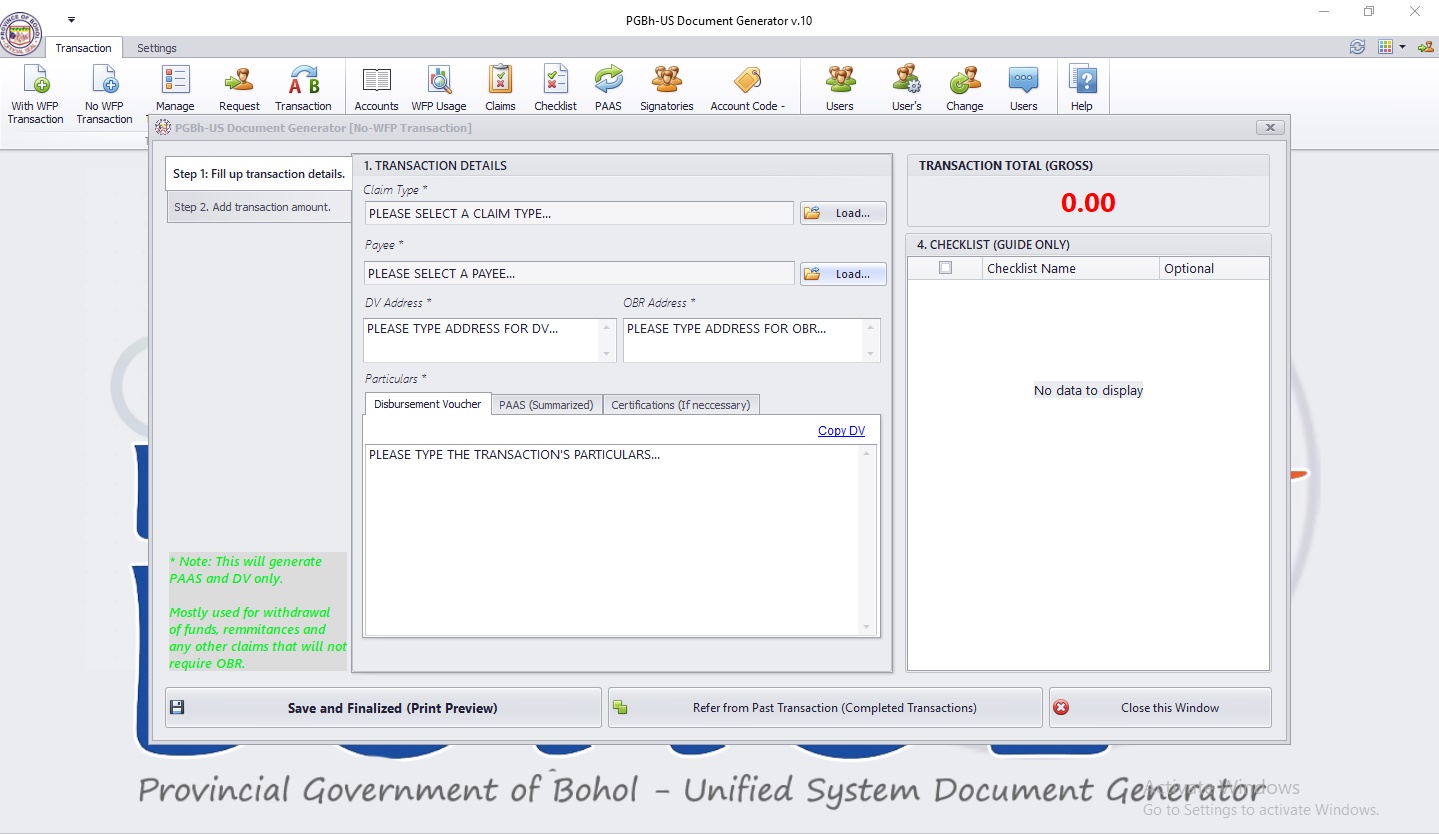
- 1. A new window will prompt after clicking the specified button. Here, you can input the transaction details and save transactions for approval.
2. New No WFP Transaction Form Steps and How it Functions
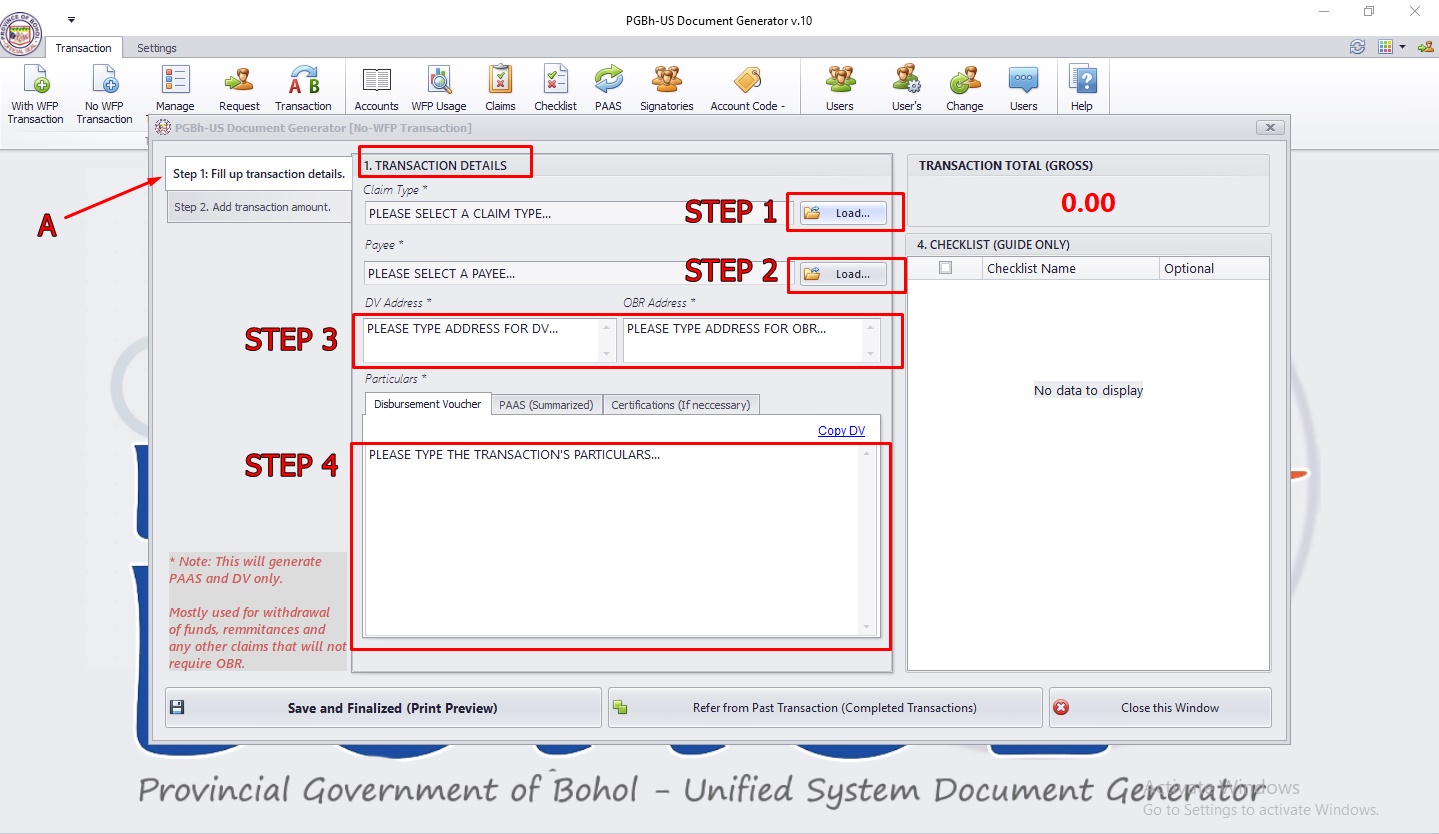
Note: Please fill up all required(*) fields.
Step 1: Selecting a Claim Type

- You need to click the "Load" button first and a window will pop-up, showing a list of Claim Types.
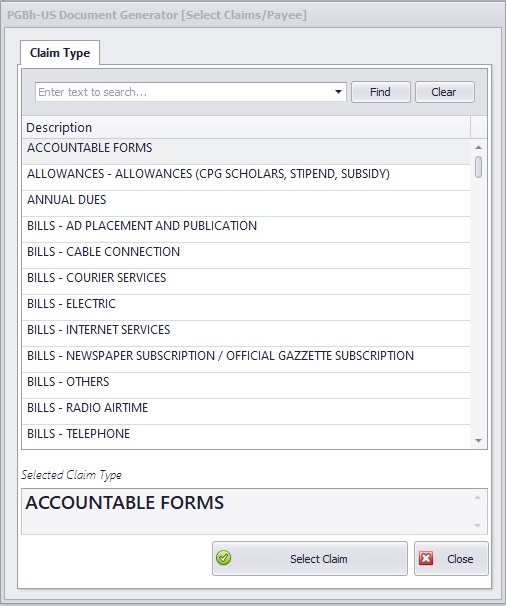
- To select a specific claim type, you can either scroll down on the list of claim types or use the search box located at the top of the list by typing the claim type description, click the claim type chosen and click the "Select" button. You can also select a claim type without clicking the "Select" button by double-clicking the chosen claim type.
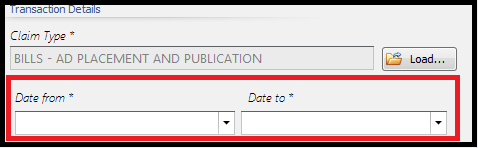
Note: On other claim types (e.g. BILLS, SALARIES, i.a.), 2 boxes will show-up where you need to select the Date from and Date to of the claim type, dropping down a calendar, respectively.
Step 2: Selecting a Payee

- You need to click the "Load" button first and a window will pop-up, showing a list of Payees.
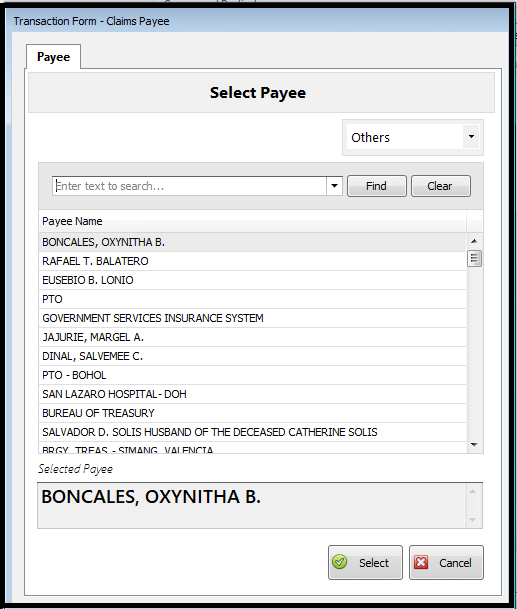
Note: You cannot find a payee if you haven't set its corresponding payee type. (e.g. You cannot find BOHECO I ELECTRIC COOPERATIVE, INC. if you have set the payee type to Others or Employee.)
- To select a payee, double click the "Payee Name" OR click the "Select" button.
Step 3: Setting the Address (DV/Obr Address)

- To set the address, type it on the address box.
Step 4: Setting the Particulars {Disbursement Voucher, PAAS (Summarized), Certifications (If neccessary)}
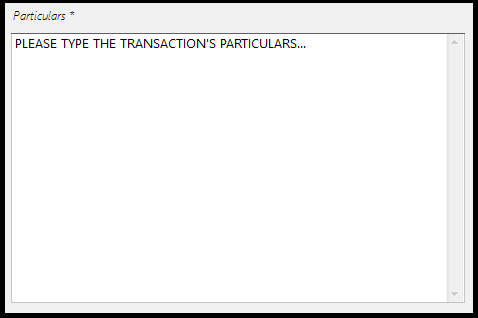
Note: Some claim types (e.g. BILLS - AD PLACEMENT AND PUBLICATION, i.a.) have default particulars entered where you can edit or add new particulars.)
- To set the Transaction Particulars, type it on the particulars box.
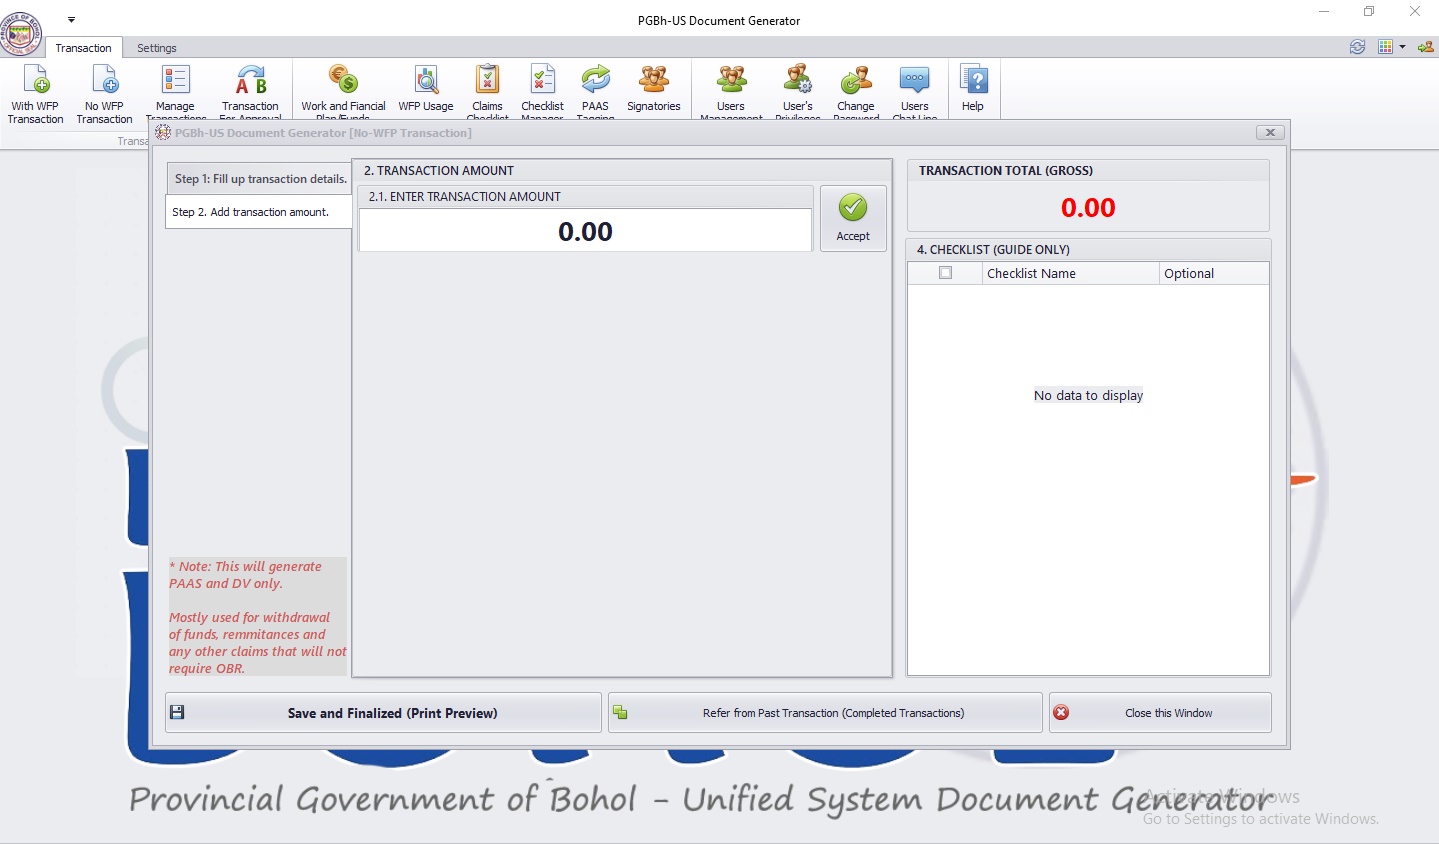
Step 5: Add Transaction Amount
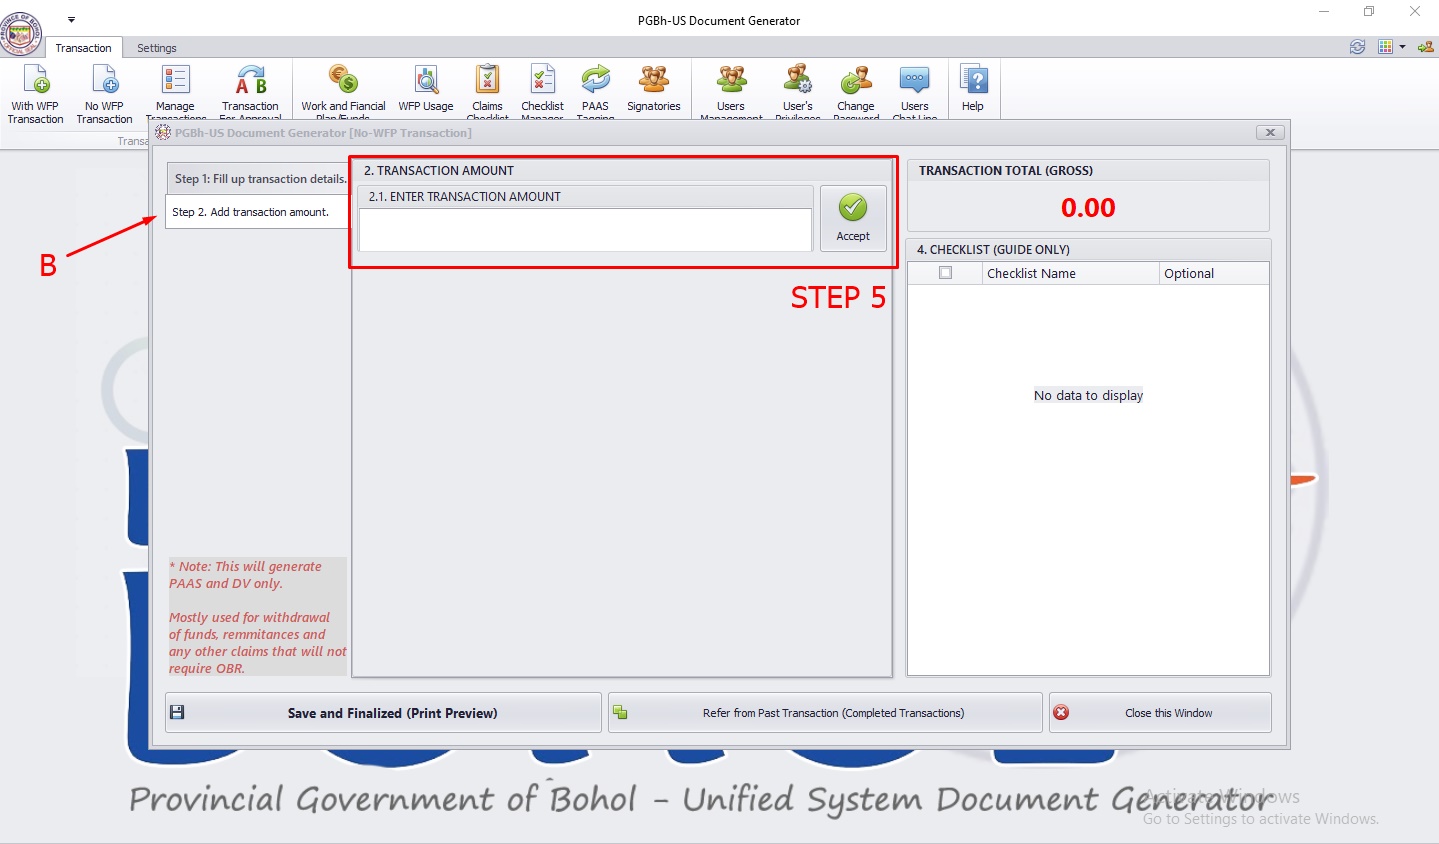
- Add Transaction Amount
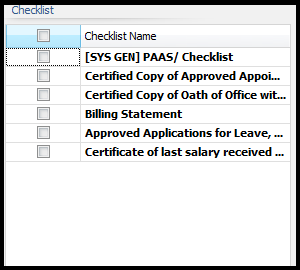
Note: Checklist is empty if there were no Claim Type selected.
- To add checklist(s), click the checklist/s from the checklist list located at the upper-rightmost side of the form.
Step 8: Finalizing and Saving the Transaction

- You can Save, Finalize and print the document by clicking the "Save and Finalized" button after verifying everything.
Step 8.1: Save for Later
Note: You cannot save the transaction as draft if you haven't entered any credentials on Claim Type, Payee, Address and Particulars.
- If you have entered credentials but you don't want to save and finalize it for printing and approval, you can click the "Save for Later" button located just beside the "Save and Finalized" button so the transaction will be saved as a draft. You can later find the draft on the Manage Transaction List.
Step 8.2: Refer from Past Transaction

- You can refer your transaction from past transactions (e.g. drafts, approved, unapproved, i.a.) by clicking the "Refer to Past Transactions" button.
- After clicking the said button, a form will pop up showing all past transactions in which you can refer to.
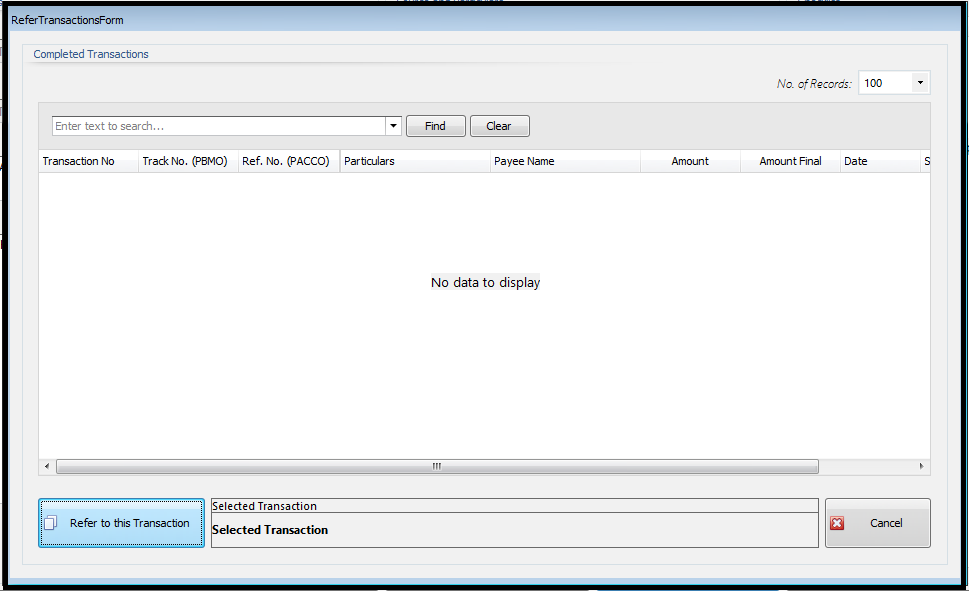
- You can refer a past transaction by clicking the transaction from the list you want to refer to. After selecting the past transaction, click the "Refer to this Transaction" button and you will then be redirected back to the New Transaction form with the credentials from the selected past transaction entered into the redirected form.